Photobucket Design Teams Tutorials

Sunday, May 5, 2013

Imaginarium Designs :) :) :)


Hello Hello :)

Today I would like to share with you an ATC that I made at a recent retreat that I attended. Now please be kind as creating ACT's is not something that I am familiar with, but despite that I still wanted to share the creative experience with you, to showcase how awesome Imaginarium Designs is for making mixed media style ATC's :)


Currently Imaginairum Designs doesn't carry an ATC background but I have had a chat with Jane and she said that if you are interested just to contact her and she will more than happily cut an order for you :) :) :)

For my ATC I cut down a tag. In this next picture you can see the supplies I have used. I had pre-sprayed the heart sheet with white gesso spray.


After adhering the hearts to the ATC I applied a liberal coat of Viva Decor Croco Crackle [tip I was toooo liberal and the finish wasn't as nice as I would have liked]
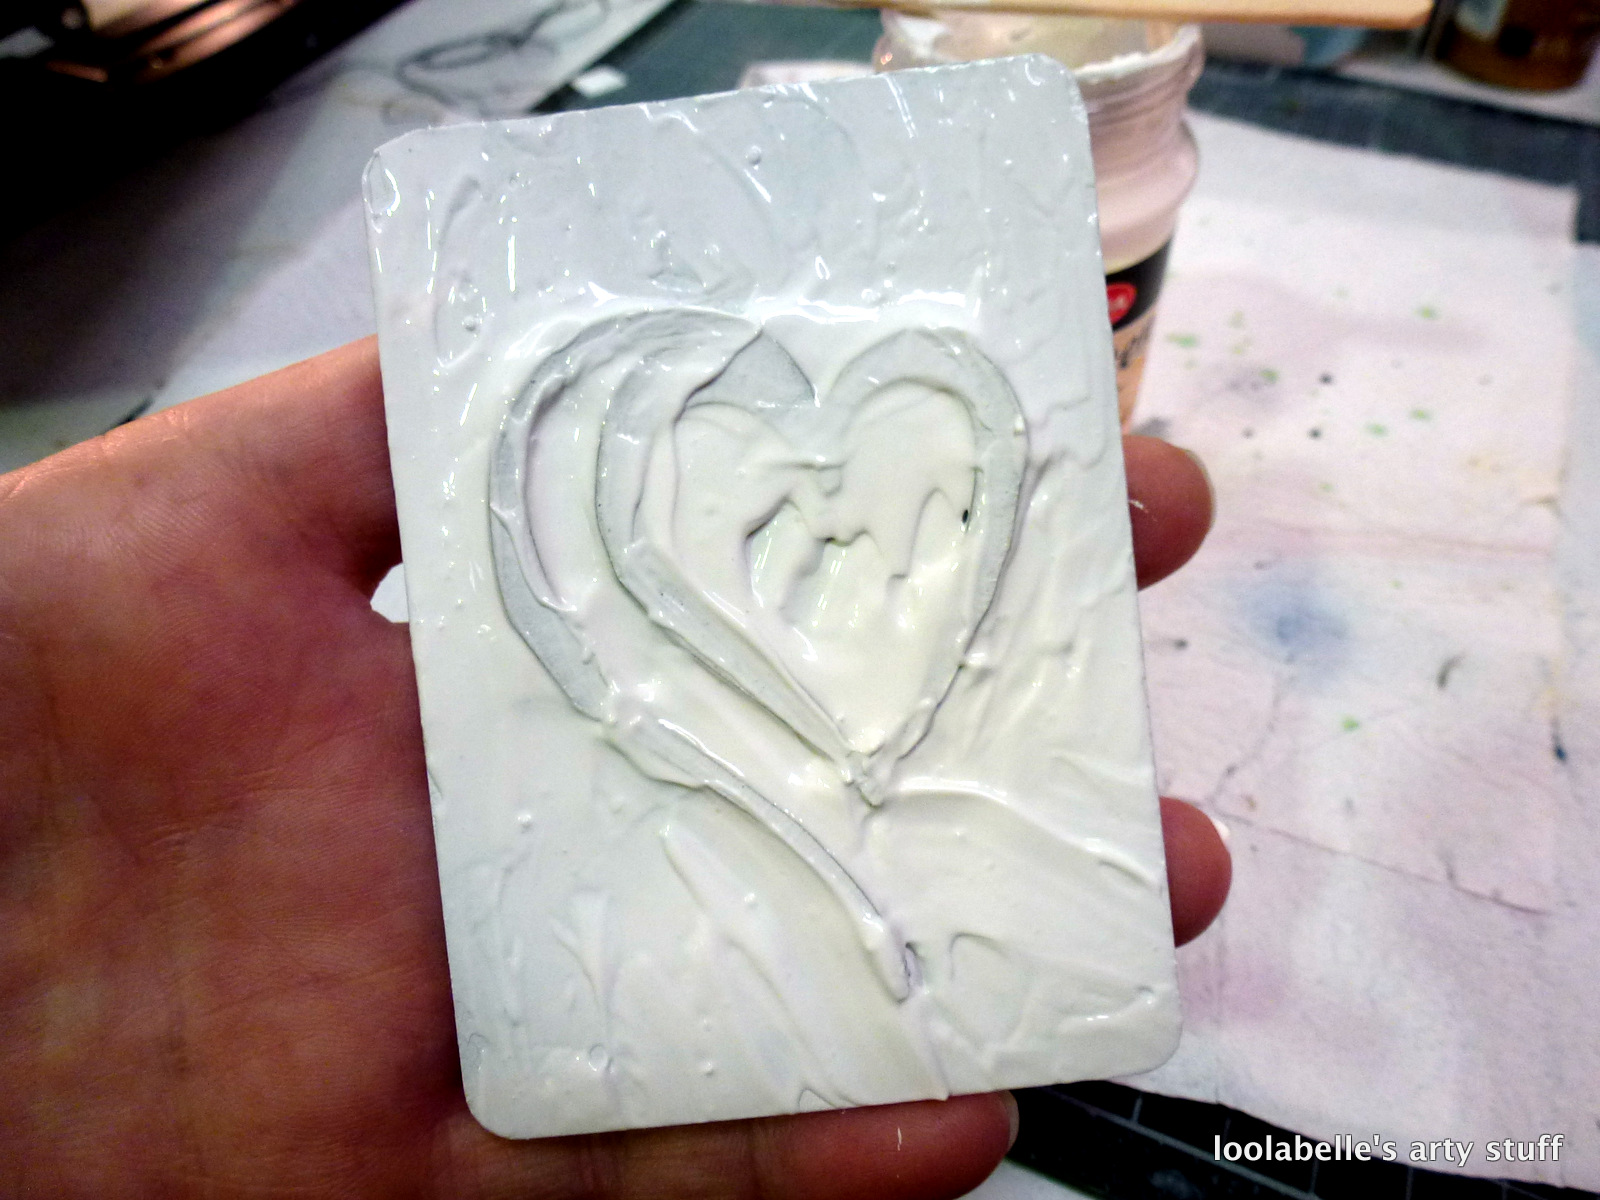


The crackle medium was in fact way to thick and it didn't crackle as much as I would have liked.


When the crackle was dried I applied water color paint [Hero Arts] to highlight the crackle pattern.


I added a few extra splats of black paint to break up the starkness/contrast of the red paint. 

I have enjoyed this 'test run' of creating an ATC so I plan on having another go so keep your eye out for my blog post next month.

Cheers and I do hope you are having a great weekend :)


Prima NSD Blog post :)


Hello hello :)

Next is a little step-out I would like to share with you, for this Tag, 


Materials List
Prima Marketing
Trim [Silver] 564117
Trim [White] 564124
Sunrise Sunset Vintage Trinkets 960339
Sunrise Sunset Vintage Trinkets 960322
Sunrise Sunset Vintage Trinkets 960308
Prima Flowers Tatiana White 566333
Velvet Trinkets 560010
SIIC 551483

Other
12 x 12 grey board - Imaginarium Designs
Tag for template
Spray Gesso
Staples

Extra kit
Pencil
Stanley knife
Tonic scissors
Stapler


To begin with I traced out a large tag shape onto some grey board and then cut it out using a stanley knife and metal ruler. for the freehand cutting around the corners I used my Tim Holtz tonic scissors.


I then spray painted the tag with spray gesso however if you dont have the spray gesso, then straight gesso or white paint applied with a roller/paint brush is perfect!


I then applied clear drying glue to the background [see picture above]. I then began to overlay pre cut strips of Prima fibre [as above].


I continued laying on the strips of fibre until the entire tag was covered, and allowed it to dry.


When the glue was dry I trimmed the excess from around the edges of the tag.


This is a close up of how the surface of the tag looked before I completed decorating the tag.


I distressed a length of the silver trim and then looped it before stapling it to the tag.


I then glued a cluster of 3 flowers over the distressed trim. I further embellished these flowers with some of the fabulous Sunrise Sunset Vintage Trinkets.

Below are some close up pictures of the final embellishing :)


Cheers and I do hope you enjoy :) :) :)

Tuesday, April 30, 2013


Last December I was honoured to be asked be the amazing Riikka to contribute to a series of fabulous Creative Christmas Calendar inspiration blog posts. this was my contribution.

Funky Wire Christmas Decorations 
by Louise Nelson


"I would like to share with you some very simple quick and easy Christmas decorations They can be created to suit whatever colour scheme you would like, the colour is only limited by what is available in the range of spray paints in your local hardware store.


What you will need; 
Polystyrene balls 
Wire 
Christmas flowers 
Spray paint 
Clear drying glue 
Tools you will need; 
Wire cutters 

Forming hanging loop


To start with cut a length of wire approximately 50cm long. Then in a free form manner create loops and waves in the wire [as depicted above].


When you are happy with your design twist the ends over to complete your free form patterned loop.


Bend these ends to the same shape as depicted in the photo above. Put to one side and begin to fashion the ball part of the decoration.


Cut a short length approximately 6-7cm long and bend over [as depicted above]. 

Forming Decoration


To start with bend over the end over the wire at right angles, about 2.5cm.


Push this end into the foam ball in the midline. 


Whilst holding this in position with your thumb proceed to wind the wire abound the foam ball. Continue to wind it around in a segmental manner.


When you are happy with the wire coverage around the ball, cut the wire with a short length of about 4cm, bend it over as shown above and press end into the foam ball, over the centre where the wire passes over itself, this will help to hold the wires in place.


Using the short bend over length press it into foam ball over the crossed over wires to hold them in place at the other end of the ball.


Attach the free form loop in the same manner. 

Embellishing Decoration 

Using your desired colour spray paint spray the decoration on all sides and allow to dry.


Once dry adorn with your desired Christmas themed flowers and embellishments. I have kept mine simple and used Prima flowers which were glued into position. 

I do hope you enjoyed this quick easy step out on my Funky Wire Christmas embellishments."

Imaginarium Designs :) :) :)


Hello Hello :)

Today I would like to share with you one of my favourite techniques for creating a textured background, using the faaaaabulous 8 x 8 honeycomb chipboard.

What you will need;

Imaginarium Designs
1 x 12 x 12 chipboard background
1 x 8 x 8 Honeycomb chipboard shape sheet

Other
Impasto
Spray Gesso - Krylon
Spray mist - I used Shimmerz Vibez - Red-y-or-Not

Tools
Spatula or credit card
Heat Gun
Spray bottle with water
paper towels


Prepare background chipboard with a coat of spray gesso and allow to dry.

Create textured masked hexagon shapes with honeycomb chipboard and impasto; scrape the impasto into the open areas of the shaped chipboard, remove chipboard mask and allow to dry.


When impasto paste is dry spray on a liberal amount of mist on and around the masked pattern area.


Tilt your background and allow the mist to dribble down the background.

To soften the look I have also used misted water on the mist; over-sparying and allowing it to run off.


Mop up some ares of the water misted coloured mist; I do this to ensure that I get a 'balanced look'.

Using a small soft bristle paint brush addd some extra spots/splats of mist colour to highlight certain areas of the textured background, ensuring that you maintain visual balance.

Dry the mist off using the heat gun.


This is the finished background [close ups below].


Honeycomb IDS 0053
Cheers and Happy Scrapping :)

Wednesday, November 21, 2012

the color room :) :) :)


Hello Hello :)

I thought I would share with you the Anatomy of a Page post from The Colour Room that I did for my Palette #135 layout :) :) :)


Materials List;

12 x 12 grey board – Imaginarium Designs
Chipboard hearts – Imaginarium Designs
Glimmer Glam [Royal Velvet] - Tattered Angels
Chalkboard Glimmer Mist ]Monolith[ - Tattered Angels
Paper Pen [Magenta] Viva Decor
12 x 12 Template [Flying Geese] – The Crafters Workshop
6 x 6 Template [Mini 4 Flowers] by Julie Fei-Fan Balzer for The Crafters Workshop
Impasto – Mont Marte
Gesso – Krylon
Cotton thread


 Snapshot 1
  • ·      Background prepared with using spray gesso to achieve 2 tone effect.
  • ·      Dimensional geese created using template and impasto, it is applied with a palette knife.


Snapshot 2
  • ·      Photo edged using black ink to define it against the white background.
  • ·      Chipboard heart coloured using the Royal Velvet Glimmer Glam.
  • ·      Extra splats of colour [royal velvet glimmer glam and monolith chalkboard glimmer mist]    applied using a small-medium sized paint brush.


 Snapshot 3
  • ·      Floral pattern created using mini flower template and impasto, applied with a palette knife.
  • ·      Chipboard heart coloured using the Royal Velvet Glimmer Glam.
  • ·      Extra splats of colour [royal velvet glimmer glam and monolith chalkboard glimmer mist] applied using a small-medium sized paint brush.
  • ·      Pink dots created using Viva Décor paper pen.
  • ·      Cotton thread added to create interesting visual interest. Adhered under chipboard elements using quick clear drying glue.
  • ·      Organic elements [dried flowers] added to coordinate with and tie in the photo content.
Cheers and I hope you are haven a great weekend :)