Hi Guys
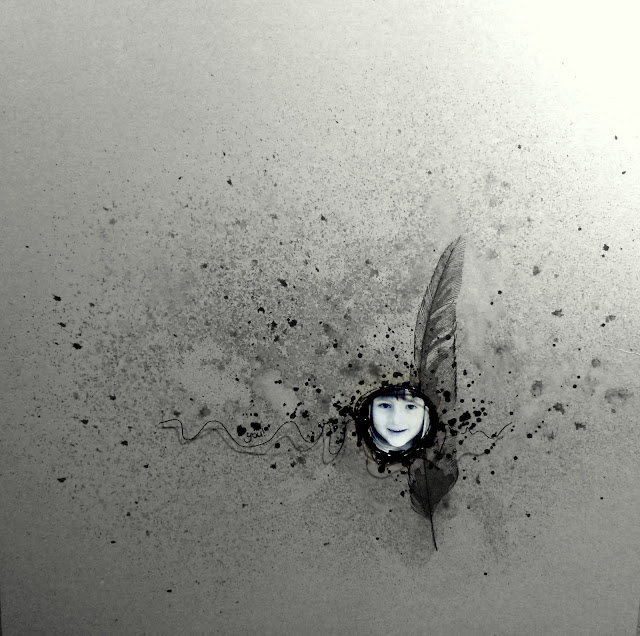
For this post I have done a bit of a mini step by step to show you how I created the background for this layout featured in the Aussie Scrap Source Feathers Trend post :) :) :)
I apologise that the pics are a bit yellow and grainy as I took the photos at night with not the best overhead lighting.
This is the layout [pic taken in better lighting and colour corrected :)]
Products used;
12 x 12 Chipboard background
Tattered Angels Glimmer Mist - Cinder
Hero Arts Stamp
Black ink pad
Black 26 gauge craft wire
Black Signo gel pen
Extra kit tools;
Small soft bristle paint brush
Mister bottle with water
Clear acrylic stamping block
Heat gun
Absorbent paper towel
After stamping the image heat set it with the heat gun
Using a small paint brush paint the feather with glimmer mist and then dry with heat gun
Using the water mist bottle spray the layout background and stamped/painted image
Whilst the layout is still wet with water add splats of glimmer mist with the paint brush, by gently taping it
Dry with the heat gun, and using a paper towel dabbing gently at the larger areas of pooled water and mist to absorb some of the moisture but not all, and then dry of with the heat gun
Add extra splats of glimmer mist with the paint brush to complete the 'design balance' and visual effects desired, [here I have already attached my photo, so I have protected it with a scrap of paper whilst adding extra splats of mist]
Below are some close ups of the completed layout [in better lighting and colour corrected :)]
Well that is quite simply IT! LOL :)
Cheers and Happy Scrapping
Louise :) xox
Oooh and PS, please please, if you do have a go at this technique I would love it if you would post a link to your creation so that I can enjoy your creative fun and fabness 2!!!!!!


 I have also used a flower cut from a vintage doilie to use as a centre for one of the flowers


